

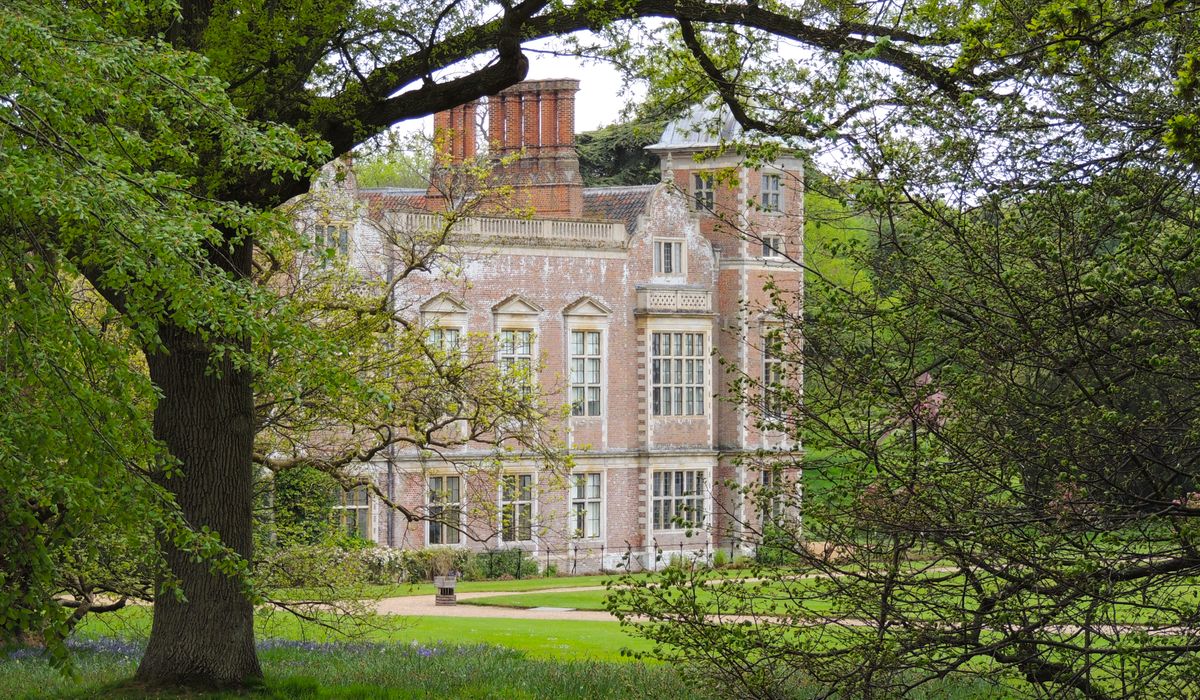
Why Lime Mortar Matters in Old Brickwork
If you own a period property, the chances are good that its bricks were originally laid with lime mortar. Lime is soft, permeable and slightly flexible. It allows a wall to breathe, letting moisture vapour pass out through the joints rather than becoming trapped inside the brick. It is also, crucially, the sacrificial part of the wall: when movement or frost takes its toll, the mortar gives way first, and repointing later is far cheaper than replacing bricks.
Cement mortar behaves in the opposite way. It is hard, brittle and largely impermeable. Repointing soft, hand-made bricks with a strong cement mix is one of the most common ways to damage a historic elevation. Water is trapped behind the cement, frost drives it out through the brick face, and the result is spalling, blown faces and crumbling bricks — precisely what the repointing was meant to prevent.
Recognising What Is in Your Joints
Before touching anything, work out what is actually there. Scratch at a joint with a sharp tool. Cement-rich mortar is usually grey, hard, and rings under the trowel; a nail will barely mark it. Lime mortar is cream, buff or off-white, sandy to the touch, and crumbles relatively easily. Look out for small white lumps of unburnt lime, known as lime inclusions, which are a good indicator of an old putty or hot-mixed mortar.
Tell-tale signs that cement pointing has been applied over an older wall include:
- Uniform grey joints that are noticeably harder than the bricks themselves
- Pointing sitting proud of the brick face, often in neat ribbons
- Smeared mortar left on the brick faces
- Cracks opening between the mortar and the brick edge
- Spalling concentrated on the most weather-exposed elevations
Soot, dirt and weathering all affect colour, so judge by hardness and texture as well as appearance.
Find the Cause Before You Repoint
Repointing is rarely the whole job. Lime mortar usually fails for a reason, and if that reason is not addressed the new work will fail too. Check for:
- Defective gutters, downpipes and hopper heads soaking the wall head
- Raised external ground levels bridging the damp-proof course
- Cement render or non-breathable masonry paint trapping moisture
- Failed flashings, cracked chimneys and leaking valley gutters
- Soil and planting built up against the base of the wall
Deal with these first, then let the wall dry out before repointing. If the wall is bulging, the bricks are moving, or you suspect structural movement, stop and take advice from a conservation-accredited surveyor or engineer.
Raking Out and Preparing the Joints
Rake out the joints to roughly two to two-and-a-half times their width — typically 15–25mm on a standard brick. Use a plugging chisel and lump hammer, or a hand-held mortar rake. Avoid angle grinders on soft, hand-made bricks: the blade wanders, and irreparable damage happens in seconds.
Work from the top of the elevation downwards. Remove all loose mortar and dust with a stiff brush. Deep joints are best tackled in two passes. Dampen the joint with a fine mist before applying mortar, as a dry, porous brick will pull the water out of the mix and weaken the bond.
Timing matters as much as technique. Do not repoint in frost, in temperatures below about 5°C, in strong direct sun, or in driving wind. Late spring through early autumn is generally kindest.
Mixing and Applying the Mortar
For most old brickwork, around one part lime to two-and-a-half or three parts well-graded sand by volume is a sensible starting point. Use lime putty or a natural hydraulic lime such as NHL 2 or NHL 3.5 for softer, earlier bricks, and NHL 3.5 or 5 for harder later Victorian work. For very exposed elevations, a slightly stronger mix of around 1:2 may be appropriate.
Mix thoroughly, and with putty lime allow the mortar to stand and fatten, ideally overnight, before knocking it up again. The finished mix should be on the stiff side of workable: it should hold its shape on the trowel without slumping.
Apply in layers no more than about 10–15mm thick, pushing the mortar firmly into the joint with a pointing iron or a piece of hardwood cut to the joint width. Fill from the back of the joint forwards, building up in two passes if the joint is deep. Try not to smear mortar across the brick faces. If you do, let it stiffen for an hour, then brush and pick it off rather than wiping it while wet.
Finishing, Curing and Aftercare
Finish the joint when the mortar is leather-hard — firm but not yet dry. The traditional finish is flush or very slightly recessed, struck with a chisel or shaped piece of wood rather than a metal trowel. Avoid raised bucket-handle ribbons, which catch water and look out of place on old brick.
Curing is where many repointing jobs fail. Lime hardens by carbonation, drawing carbon dioxide from the air, and it needs to stay damp while it does so. Cover the work with hessian or damp cloths, mist it lightly once or twice a day for the first week, and protect it from sun, wind and frost. In cool weather, full strength takes weeks. The new mortar may look pale and chalky at first before it darkens and settles into the wall.
Finally, be realistic about scope. Repointing is a genuine skill, and a small test panel in a discreet corner is well worth the effort before you commit to a whole elevation. Done patiently, with the right mix and the right timing, lime repointing will protect your brickwork for decades rather than decades of repairs to put right.


Coding is used in almost all aspects of life and work now, be it directly or indirectly. It’s not just for companies in the tech sector. “An increasing number of businesses rely on computer code,
Coding is used in almost all aspects of life and work now, be it directly or indirectly. It’s not just for companies in the tech sector. “An increasing number of businesses rely on computer code,
Coding is used in almost all aspects of life and work now, be it directly or indirectly. It’s not just for companies in the tech sector. “An increasing number of businesses rely on computer code,