

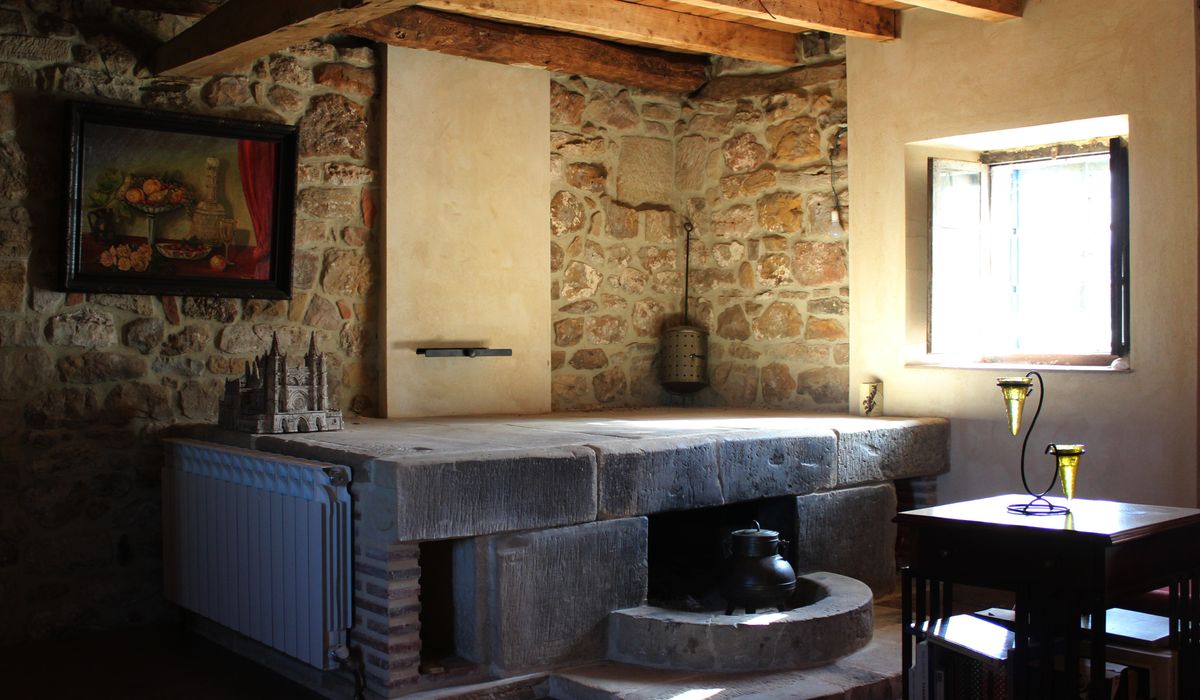
Begin with a survey, not a sledgehammer
The romance of a period fireplace lies in what you cannot see as much as what you can. Before any crowbar appears, spend an afternoon (or a modest sum with a specialist) understanding what you are dealing with. An old chimney is a working structure with a history of repairs, alterations and, quite possibly, a few surprises hidden behind the plaster.
Start with a chimney sweep who is comfortable working on historic flues. Ask for a CCTV flue survey rather than a simple sweep and rod. It will reveal cracked parging, displaced brickwork, nests, and whether your chimney is shared with a neighbour — common in terraces and a frequent cause of smoke drifting into the wrong house. Note any damp patches on chimney breasts or ceilings below; hygroscopic salts from soot and tar will keep drawing moisture out of the air long after the leak that caused them has been fixed.
Then look at the fabric. Is there a bressumer beam or a stone lintel over the opening? Is the wall above carrying load? If the brickwork is bowed, cracked or soft, stop and take advice from a structural engineer familiar with older buildings. The hearth itself may sit on a separate foundation, and disturbing it carelessly can undermine the floor.
Reopening a blocked opening
Many Victorian and Edwardian fireplaces were bricked up in the twentieth century, sometimes with a small air vent left in place to stop the flue sweating. Others were filled with rubble, broken tiles and whatever else was to hand. Approach the removal methodically and from the top down.
- Isolate any gas fire, and check for hidden services before you swing anything.
- Remove infill brick by brick with a bolster and club hammer rather than a bolster and sledgehammer.
- Keep the original lintel in place if it is sound; if it must be replaced, use oak, slate or a matching stone.
- Retain the original reveal brickwork where possible — it is often the prettiest part of the whole composition.
- Bag soot and dust carefully; it is messy, staining and best kept away from finished surfaces.
Once open, clean soot-stained brick with a poultice rather than scrubbing. A paste of lime or kaolin and water, left to draw the staining out over a day or two, is far kinder than acid or a wire brush, both of which can open the surface and cause future spalling.
Surrounds, inserts and register grates
Original surrounds were made in stone, marble, slate, cast iron and timber, and each wants a different approach. Marble responds well to a poultice of kaolin and distilled water for organic staining; avoid acidic cleaners entirely on limestone and marble. Slate and cast iron can be gently cleaned and then protected — a thin application of boiled linseed oil for slate, a graphite paste or zinc phosphate primer for iron. Never attack original patina with abrasive pads.
If you are reusing a reclaimed insert, check it fits the opening and the flue before you commit to mortar. A cast iron register grate or hob grate should sit level and be bedded and sealed with fire cement at the joints where it meets the flue and surround, while any brickwork repairs around it should be done in lime mortar. Where an original surround is beyond saving, a well-chosen reclaimed piece of the right period and proportions will always look more at home than a modern reproduction.
Hearths, flags and quarry tiles
Original hearths — York stone flags, slate, quarry tiles, decorative encaustic — are often the most restorable element and the easiest to ruin. Lift tiles and flags carefully, number them, and store them flat. Relaying on a bed of lime mortar or a well-graded sand bed allows the stone to move and breathe. Avoid cement-rich bedding, which traps moisture and forces salts to the surface.
Regulations matter here. In England and Wales, Approved Document J sets out hearth dimensions for solid fuel appliances — broadly, at least 300mm in front of the opening and 150mm to each side, with a minimum thickness of 25mm for a floor-level hearth. Check the current guidance for your situation, particularly if you are installing a stove.
Clean stone with water and a soft brush, and treat stubborn staining with a poultice. A light oil or stone soap finish will deepen the colour without sealing the surface, which is what you want in an old house.
Flues, ventilation and the law
An open fire or stove needs three things: a sound flue, adequate ventilation and a compliant installation. If the flue is unlined and heavily eroded, a flexible stainless liner or a cast-in-situ lining may be the sensible route, though on some listed buildings a traditional parge coat is preferred. Have the flue smoke-tested before you light anything.
- Check whether you are in a Smoke Control Area; only DEFRA-exempt appliances and authorised fuels may be used.
- Fit a carbon monoxide alarm in the same room as any solid fuel appliance.
- Provide permanent ventilation — usually an air brick — sized to the appliance.
- Match the flue to the appliance; an oversized flue runs cool and smokes back.
- If the building is listed, listed building consent is required for most alterations.
Materials, finishes and living with an old fireplace
The golden rule for historic fabric is breathability and reversibility. Lime mortar, lime plaster and limewash allow moisture to move; cement, gypsum and modern sealants trap it and cause decay. Point brickwork in a 1:3 lime putty and sharp sand mix, and let it cure slowly rather than drying it out with heat.
Do not over-restore. A fireplace that shows its age, with a little soot in the brick and a worn flag in front, will sit far more comfortably in a period room than one buffed to showroom perfection. Sweep annually, check the cowl and flashing after storms, and keep an eye on any damp. Done patiently, a restored fireplace gives back warmth, character and one of the most satisfying focal points a historic home can offer.


Coding is used in almost all aspects of life and work now, be it directly or indirectly. It’s not just for companies in the tech sector. “An increasing number of businesses rely on computer code,
Coding is used in almost all aspects of life and work now, be it directly or indirectly. It’s not just for companies in the tech sector. “An increasing number of businesses rely on computer code,
Coding is used in almost all aspects of life and work now, be it directly or indirectly. It’s not just for companies in the tech sector. “An increasing number of businesses rely on computer code,